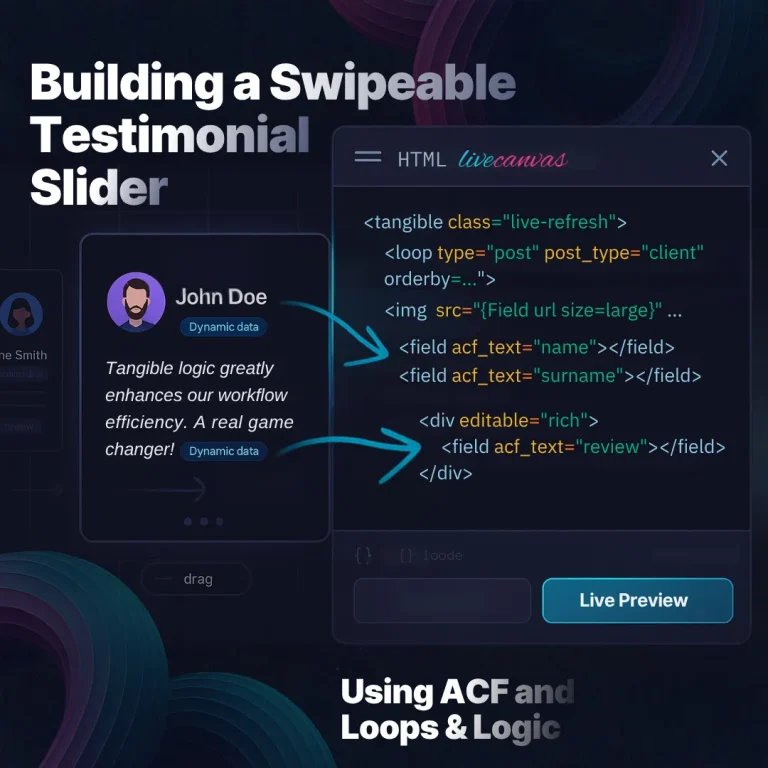
Building a Vanilla JS Swipeable Testimonial Slider in LiveCanvas Using ACF and Loops & Logic
In this tutorial, we’re going to build a fully dynamic, swipe-ready testimonial slider powered by Dynamic Data.
Essentially, we’ll create a carousel using CSS and VANILLA JS that pulls content from a CUSTOM POST TYPE using a LC query loop.
Note: this tutorial is intended for LiveCanvas 4.8.
For convenience, we’ll name this CUSTOM POST TYPE “client.”
Each client will include an uploaded photo, full name, and any additional details we want to display.
All of this data will be injected into the slider dynamically through a loop.
To handle the loop, we’ll use Loops & Logic, which is already integrated inside the LiveCanvas plugin.
For managing Custom Post Type and Custom Field, we’ll rely on the Advanced Custom Fields plugin (aka ACF).
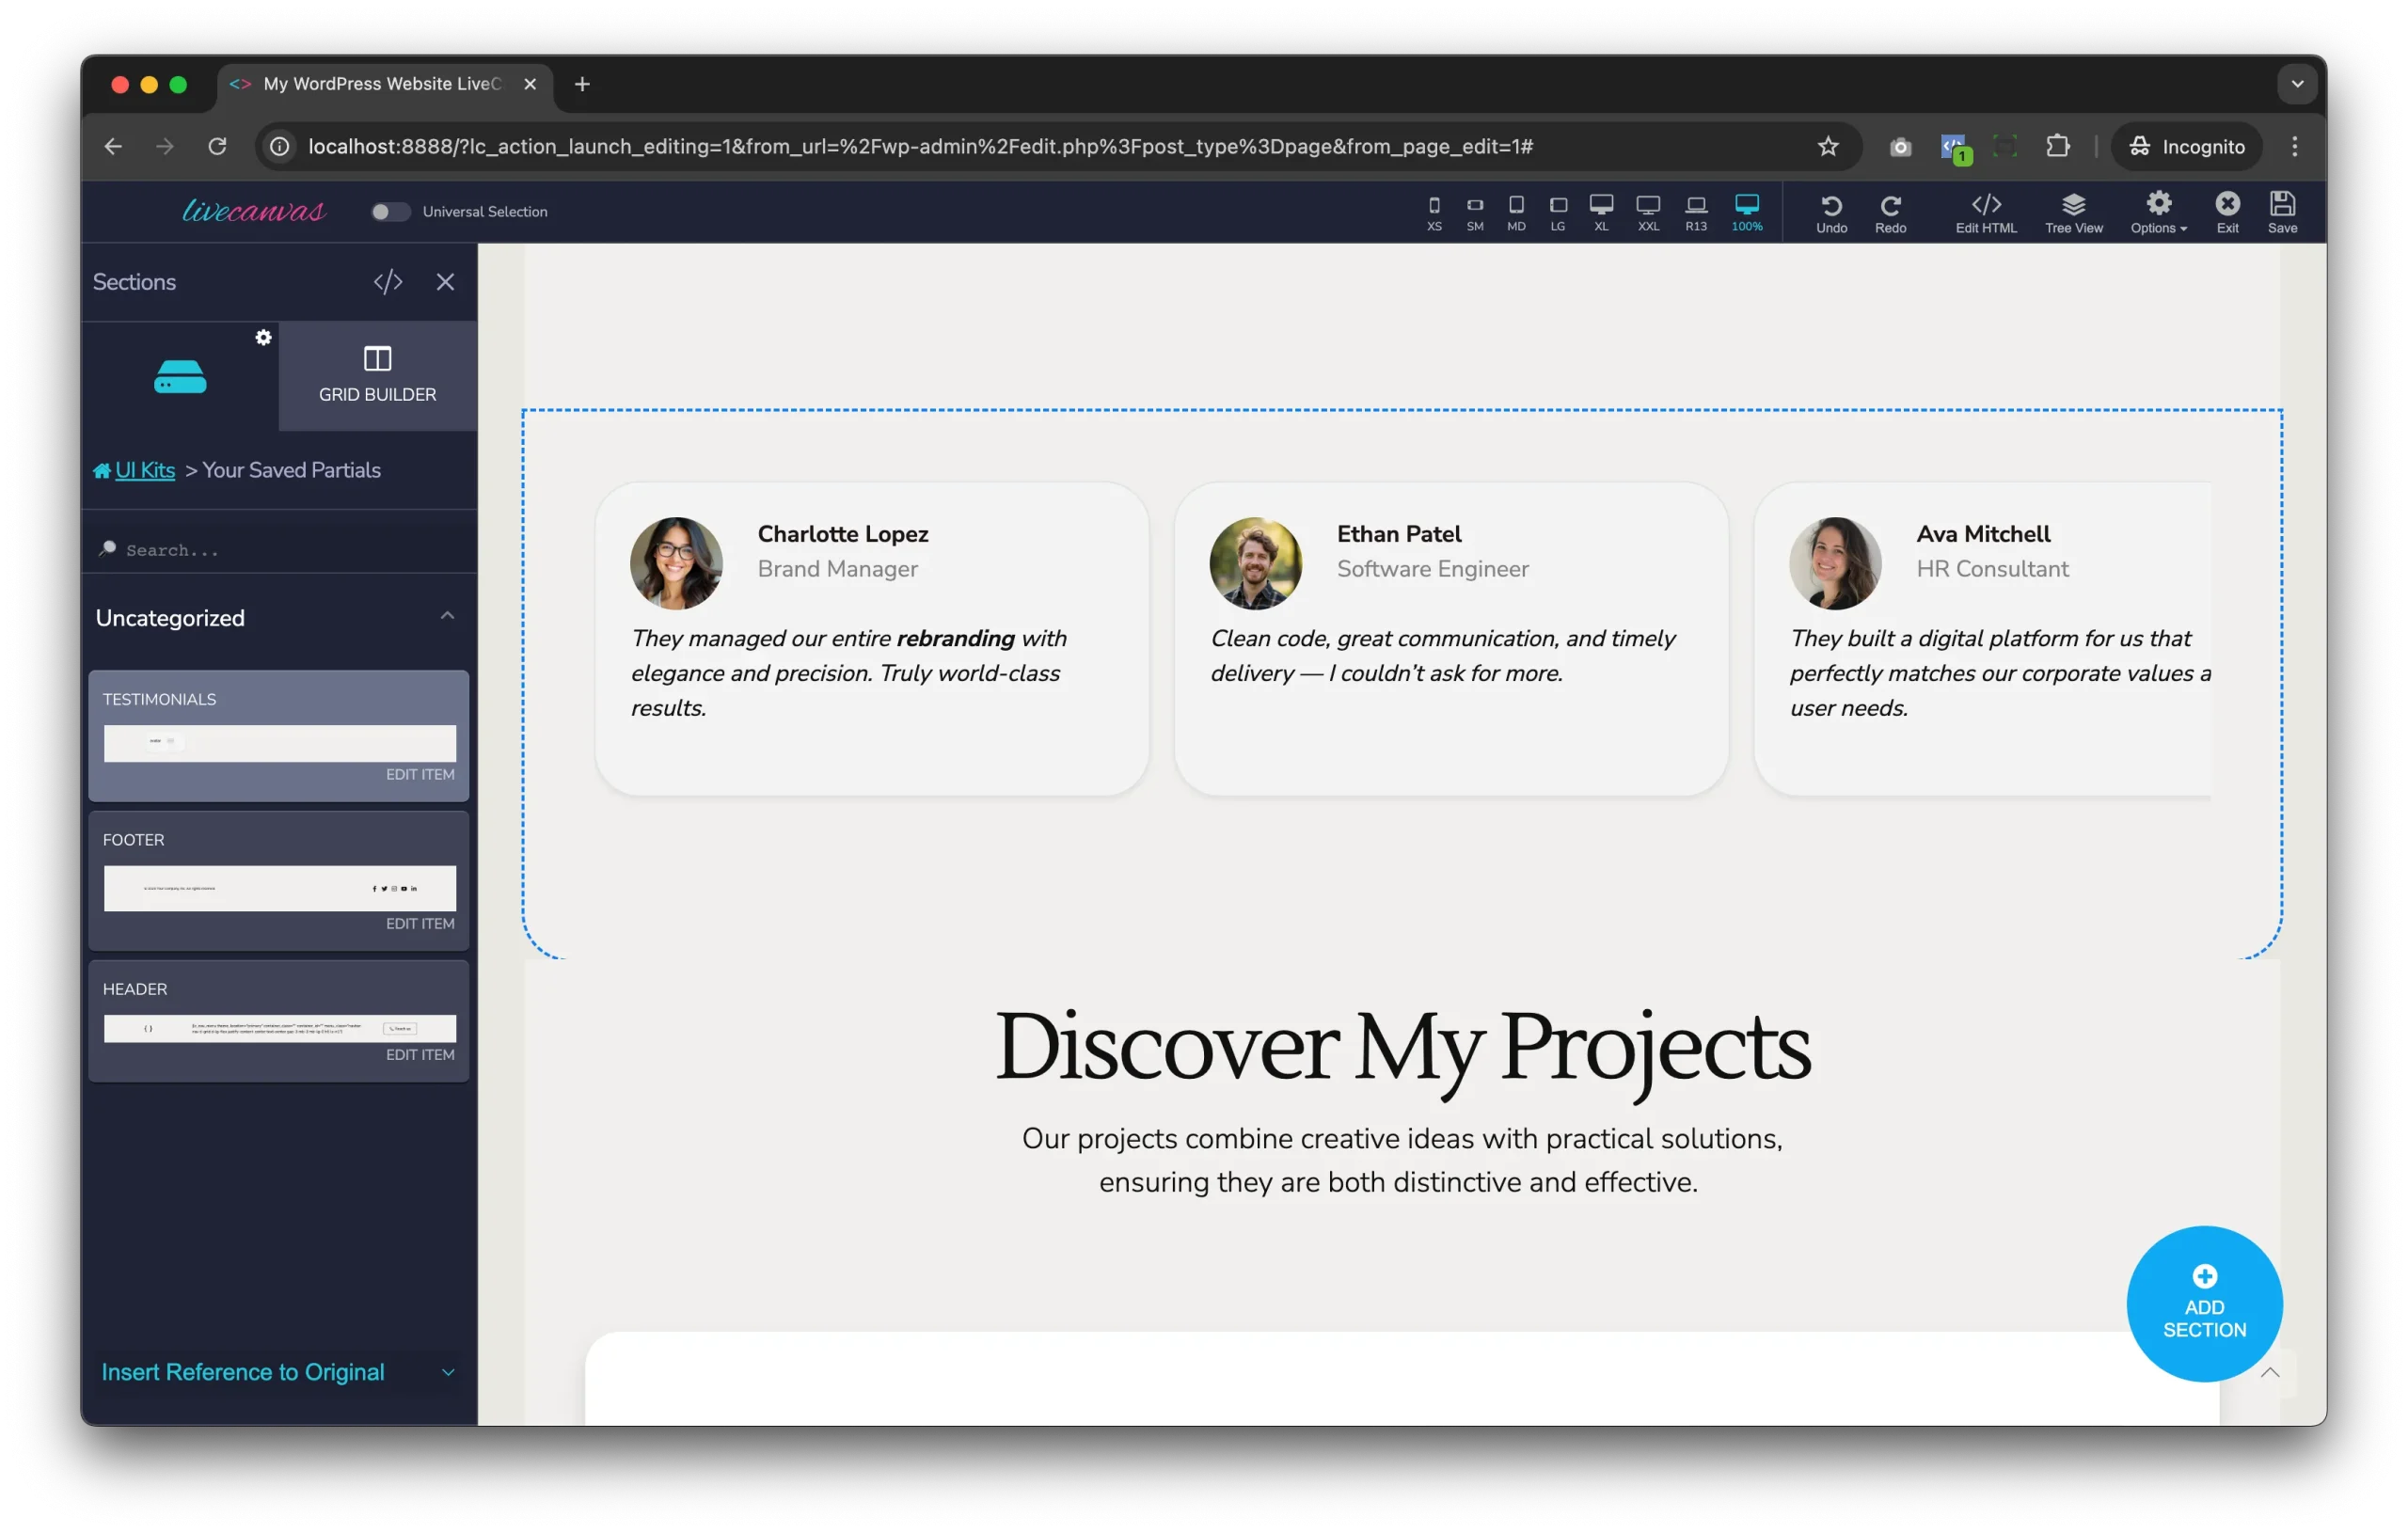
The final result is a horizontally swipeable layout that works beautifully on desktop and mobile—showcasing each client's photo, job title, and testimonial, all pulled dynamically from a dedicated Custom Post Type.
Check below the result on mobile view.
For clarity and to give you a full step by step guide, we’ll walk through every step, from creating the custom post type all the way to writing the code.
Of course, you can skip the initial setup steps if you’re already comfortable with ACF — which, honestly, any solid WordPress developer should be.
In that case, feel free to jump straight to the “what matters” , where we break down the code that builds the query and pulls in the dynamic data.
Below is a quick summary of the key points we’ll cover and what we’re going to build.
- Create a Custom Post Type called
Clients - Add a custom ACF field group to store testimonial data (name, job title, avatar, website, etc.)
- Populate the CPT with real client reviews
- Create a LiveCanvas Partial powered by Loops & Logic with the <code>
- Reuse that partial anywhere on your site using a shortcode, inside any LiveCanvas section
The end result is a modern, horizontally swipeable row of testimonial cards, fully editable from the WordPress admin and rendered with super-clean HTML inside LiveCanvas.
On top of that, we’ll apply just a couple of lightweight JavaScript and CSS lines to make the component swipe-friendly across all devices and browsers — supporting both mouse dragging and touch gestures.
P.S.
The JS code you’ll see was generated using the LiveCanvas AI Assistant, just a note for anyone who wants to tweak or extend it to match their own workflow.
1. Create the “Clients” Custom Post Type

First, we need a dedicated content type to store each client review.
- In the WordPress dashboard, go to ACF → Post Types (ACF UI)
- Click Add New.
- Configure the post type:
- Plural Label:
Clients - Singular Label:
Client - Post Type Key:
client
- Plural Label:
- Leave Public enabled so the CPT is visible in the admin menu.
- You can skip taxonomies for now – we are not grouping clients by category in this tutorial.
- Click Save Changes.
You should now see a “Clients” item in your left sidebar, alongside Posts and Pages.
2. Create the “Review” Field Group with ACF

Now we’ll define all the custom fields that belong to each client review.
- Go to ACF → Field Groups.
- Click Add New.
- Set Field Group Title to
Review.
Inside this group, create the following fields:
- Name
- Type: Text
- Field Name:
name
- Surname
- Type: Text
- Field Name:
surname
- Job Title
- Type: Text
- Field Name:
jobtitle
- Logo
- Type: Image
- Field Name:
logo
- Website
- Type: URL
- Field Name:
website
- Review
- Type: WYSIWYG Editor
- Field Name:
review
- Big 9/16 Image
- Type: Image
- Field Name:
big_vertical_image
- Avatar
- Type: Image
- Field Name:
avatar
As you can see, I’ve also included a few extra fields that you might want to use later, for example, a 9:16 “big image” field. This is super handy if, at some point, you want to repurpose (sharing) the testimonial for Instagram/Facebook Reels or Stories, or basically any vertical social content.
I also added the most essential fields, like the job title, so you have a solid foundation for creating different review layouts. And of course, feel free to add more fields or rename the existing ones, this setup is meant to be completely flexible and customizable for your workflow.
Location rules
We now need to make sure this entire group of custom fields is assigned to the Client custom post type, so that all the data we’re creating is properly linked and editable directly within that CPT from the WP backend.
In the Location panel, assign the field group to the Clients CPT:
- Show this field group if
- Post Type is equal to Client
Click Save Changes.
From now on, every time you add or edit a Client, these custom fields will appear below the content editor.
NOTE:
I personally prefer sticking with the Classic Editor in WordPress. So in the screenshot you’ll see the classic editing interface.
If you want to enable the Classic Editor, you can do it directly from the Picostrap theme settings. Just open the Customizer and toggle:
Disable the Gutenberg Content Editor (optional we do Disable the Block-Based Widget Editor too)from the Global Utilities.
3. Populate Client Data (Data Entry)
Alright, now we hit the boring part of the workflow — manually entering all the items for our custom post type, meaning the actual client testimonials.
If you want to speed things up, feel free to use whatever tools work best for you: ChatGPT, bulk-content generators, or any other utility that can produce data in an import-ready format for WP.
For example, you can generate an XML file and import it through WordPress Tools → Import, just like I did here using some dummy content.
This step isn’t glamorous, but having a solid set of sample entries really streamlines development and lets you preview the slider exactly as it will behave with real data.
With the structure ready, it’s time to add real content.
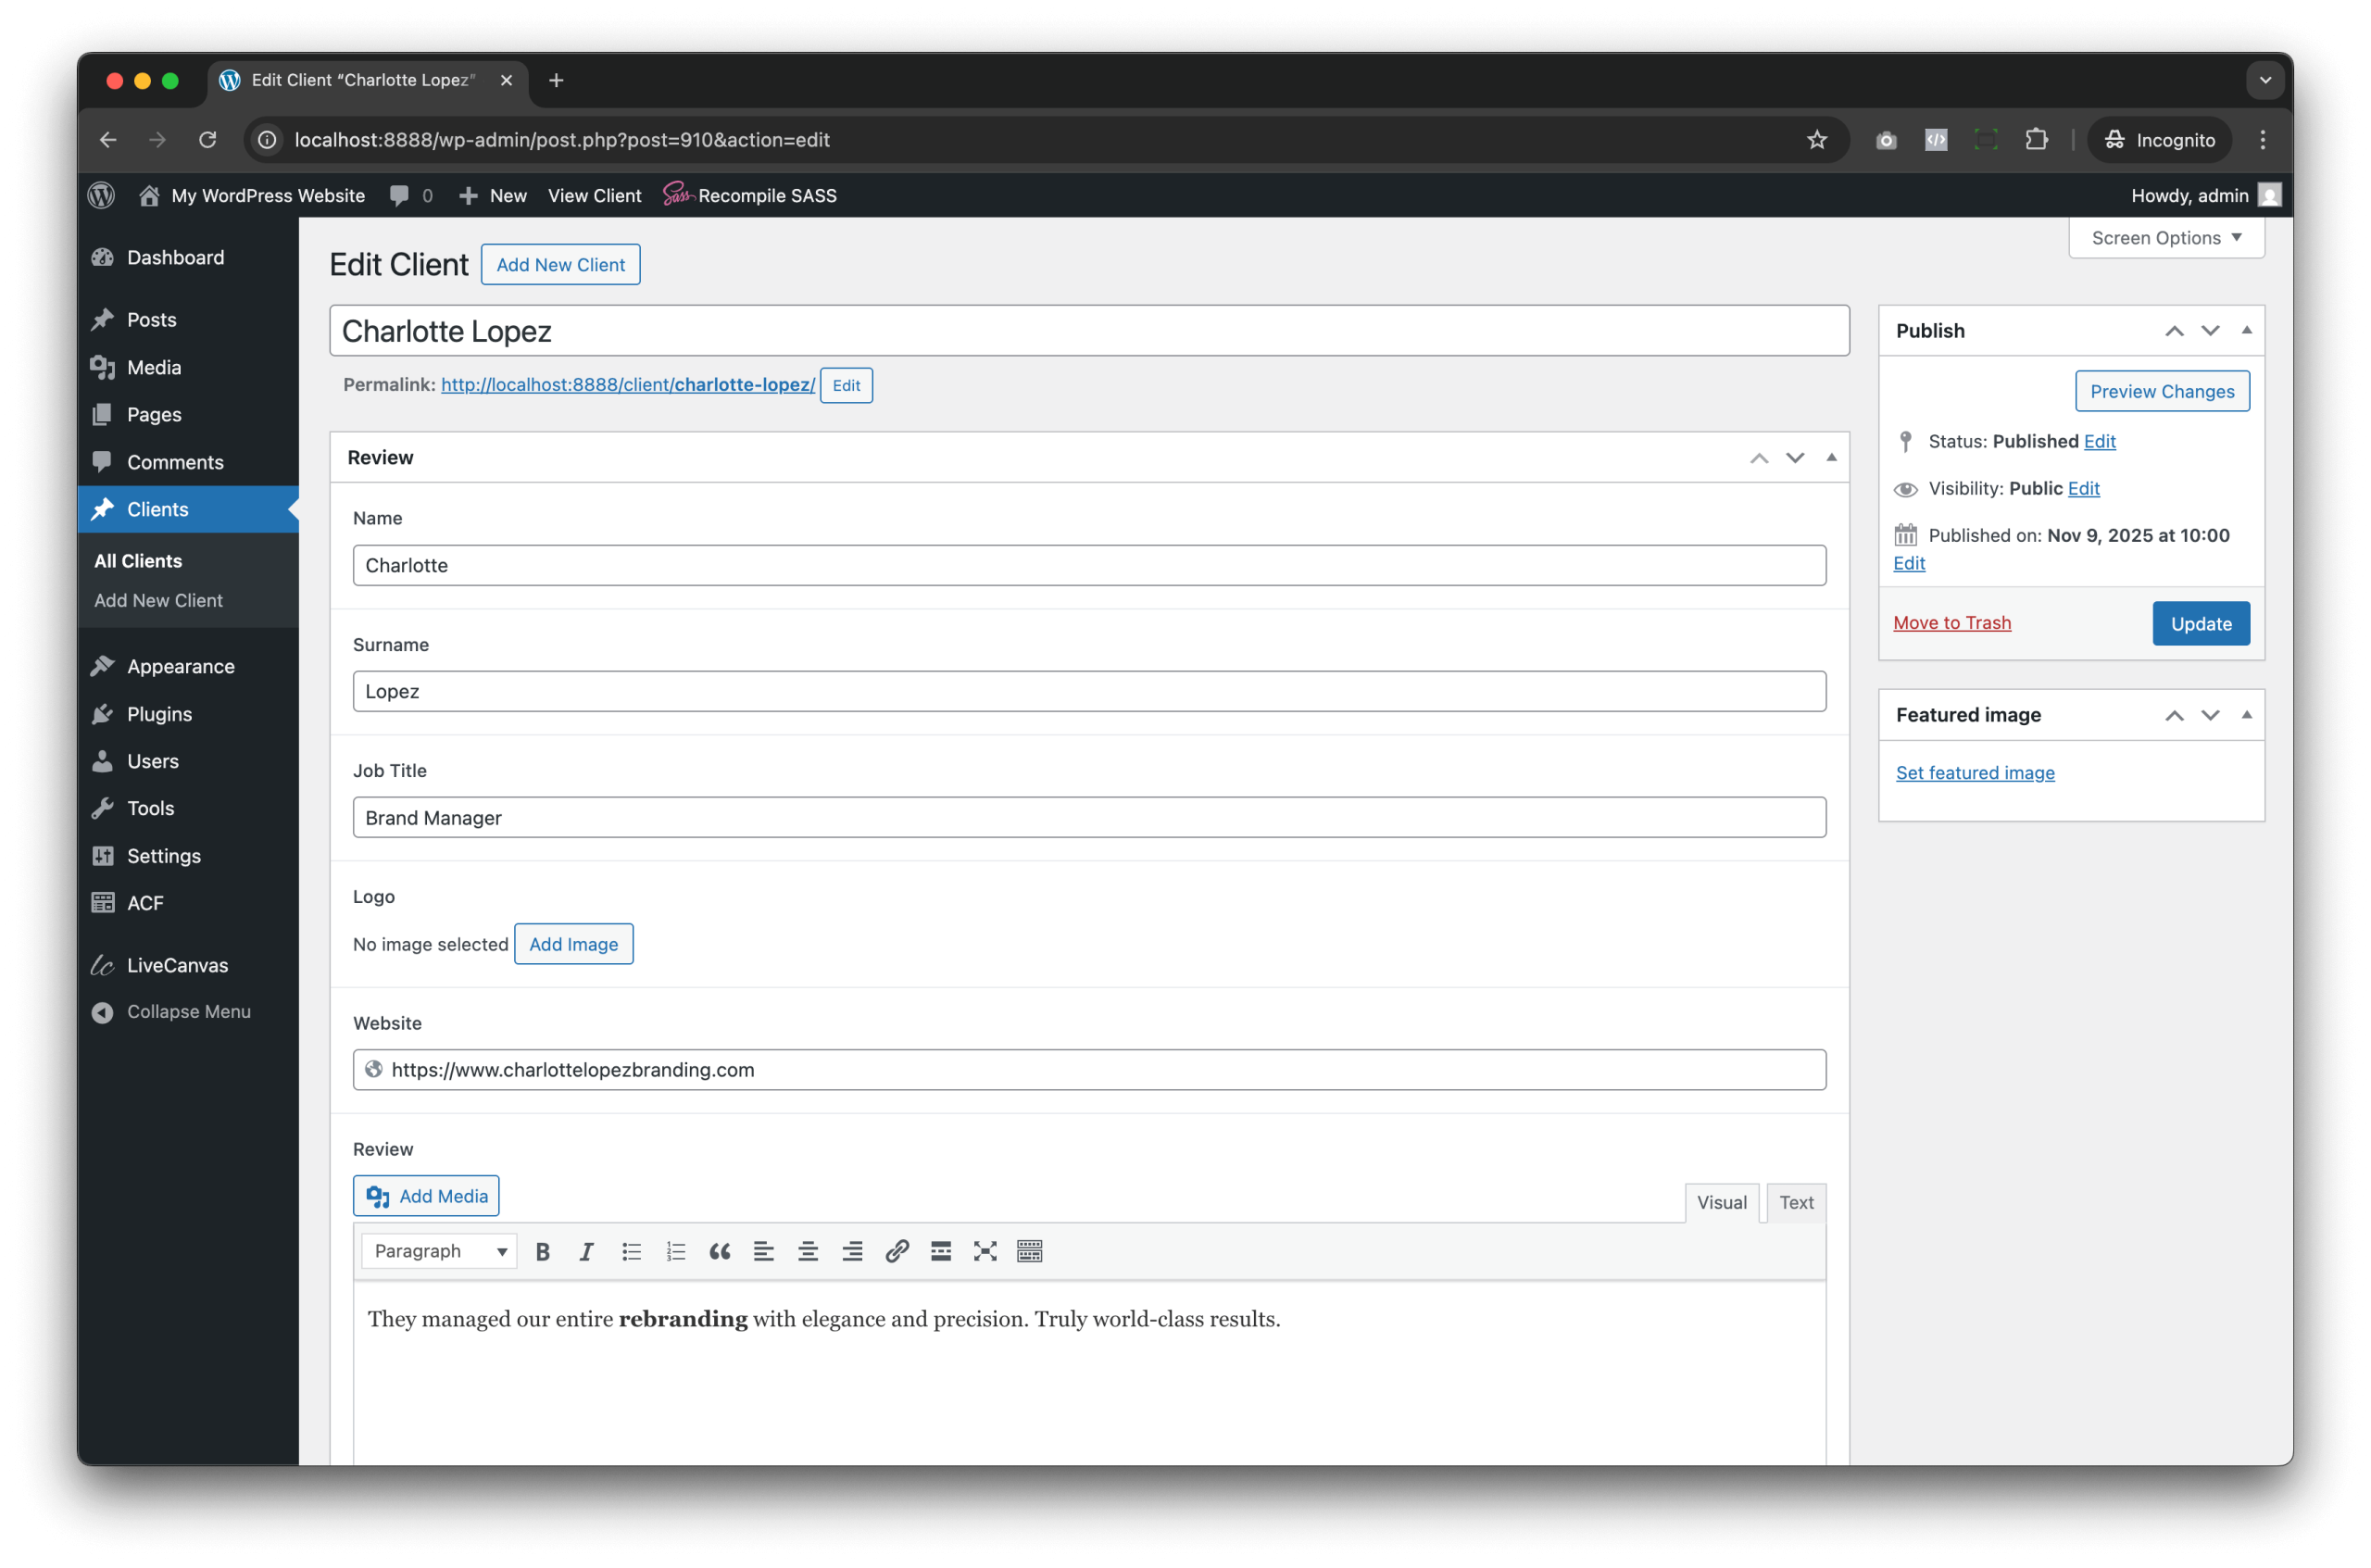
- Go to Clients → Add New.
- Enter the client’s full name in the title field (e.g.
Charlotte Lopez). - In the main content editor, paste the actual testimonial text (this is optional, since we also have the
ReviewWYSIWYG field, but your screenshot uses it as the main long text). - Scroll down to the Review field group and fill in:
- Name:
Charlotte - Surname:
Lopez - Job Title: e.g.
Brand Manager - Logo: (optional) upload a logo image
- Website: e.g.
https://www.charlottelopezbranding.com - Review: paste the testimonial text (you can match the main editor text or refine it here)
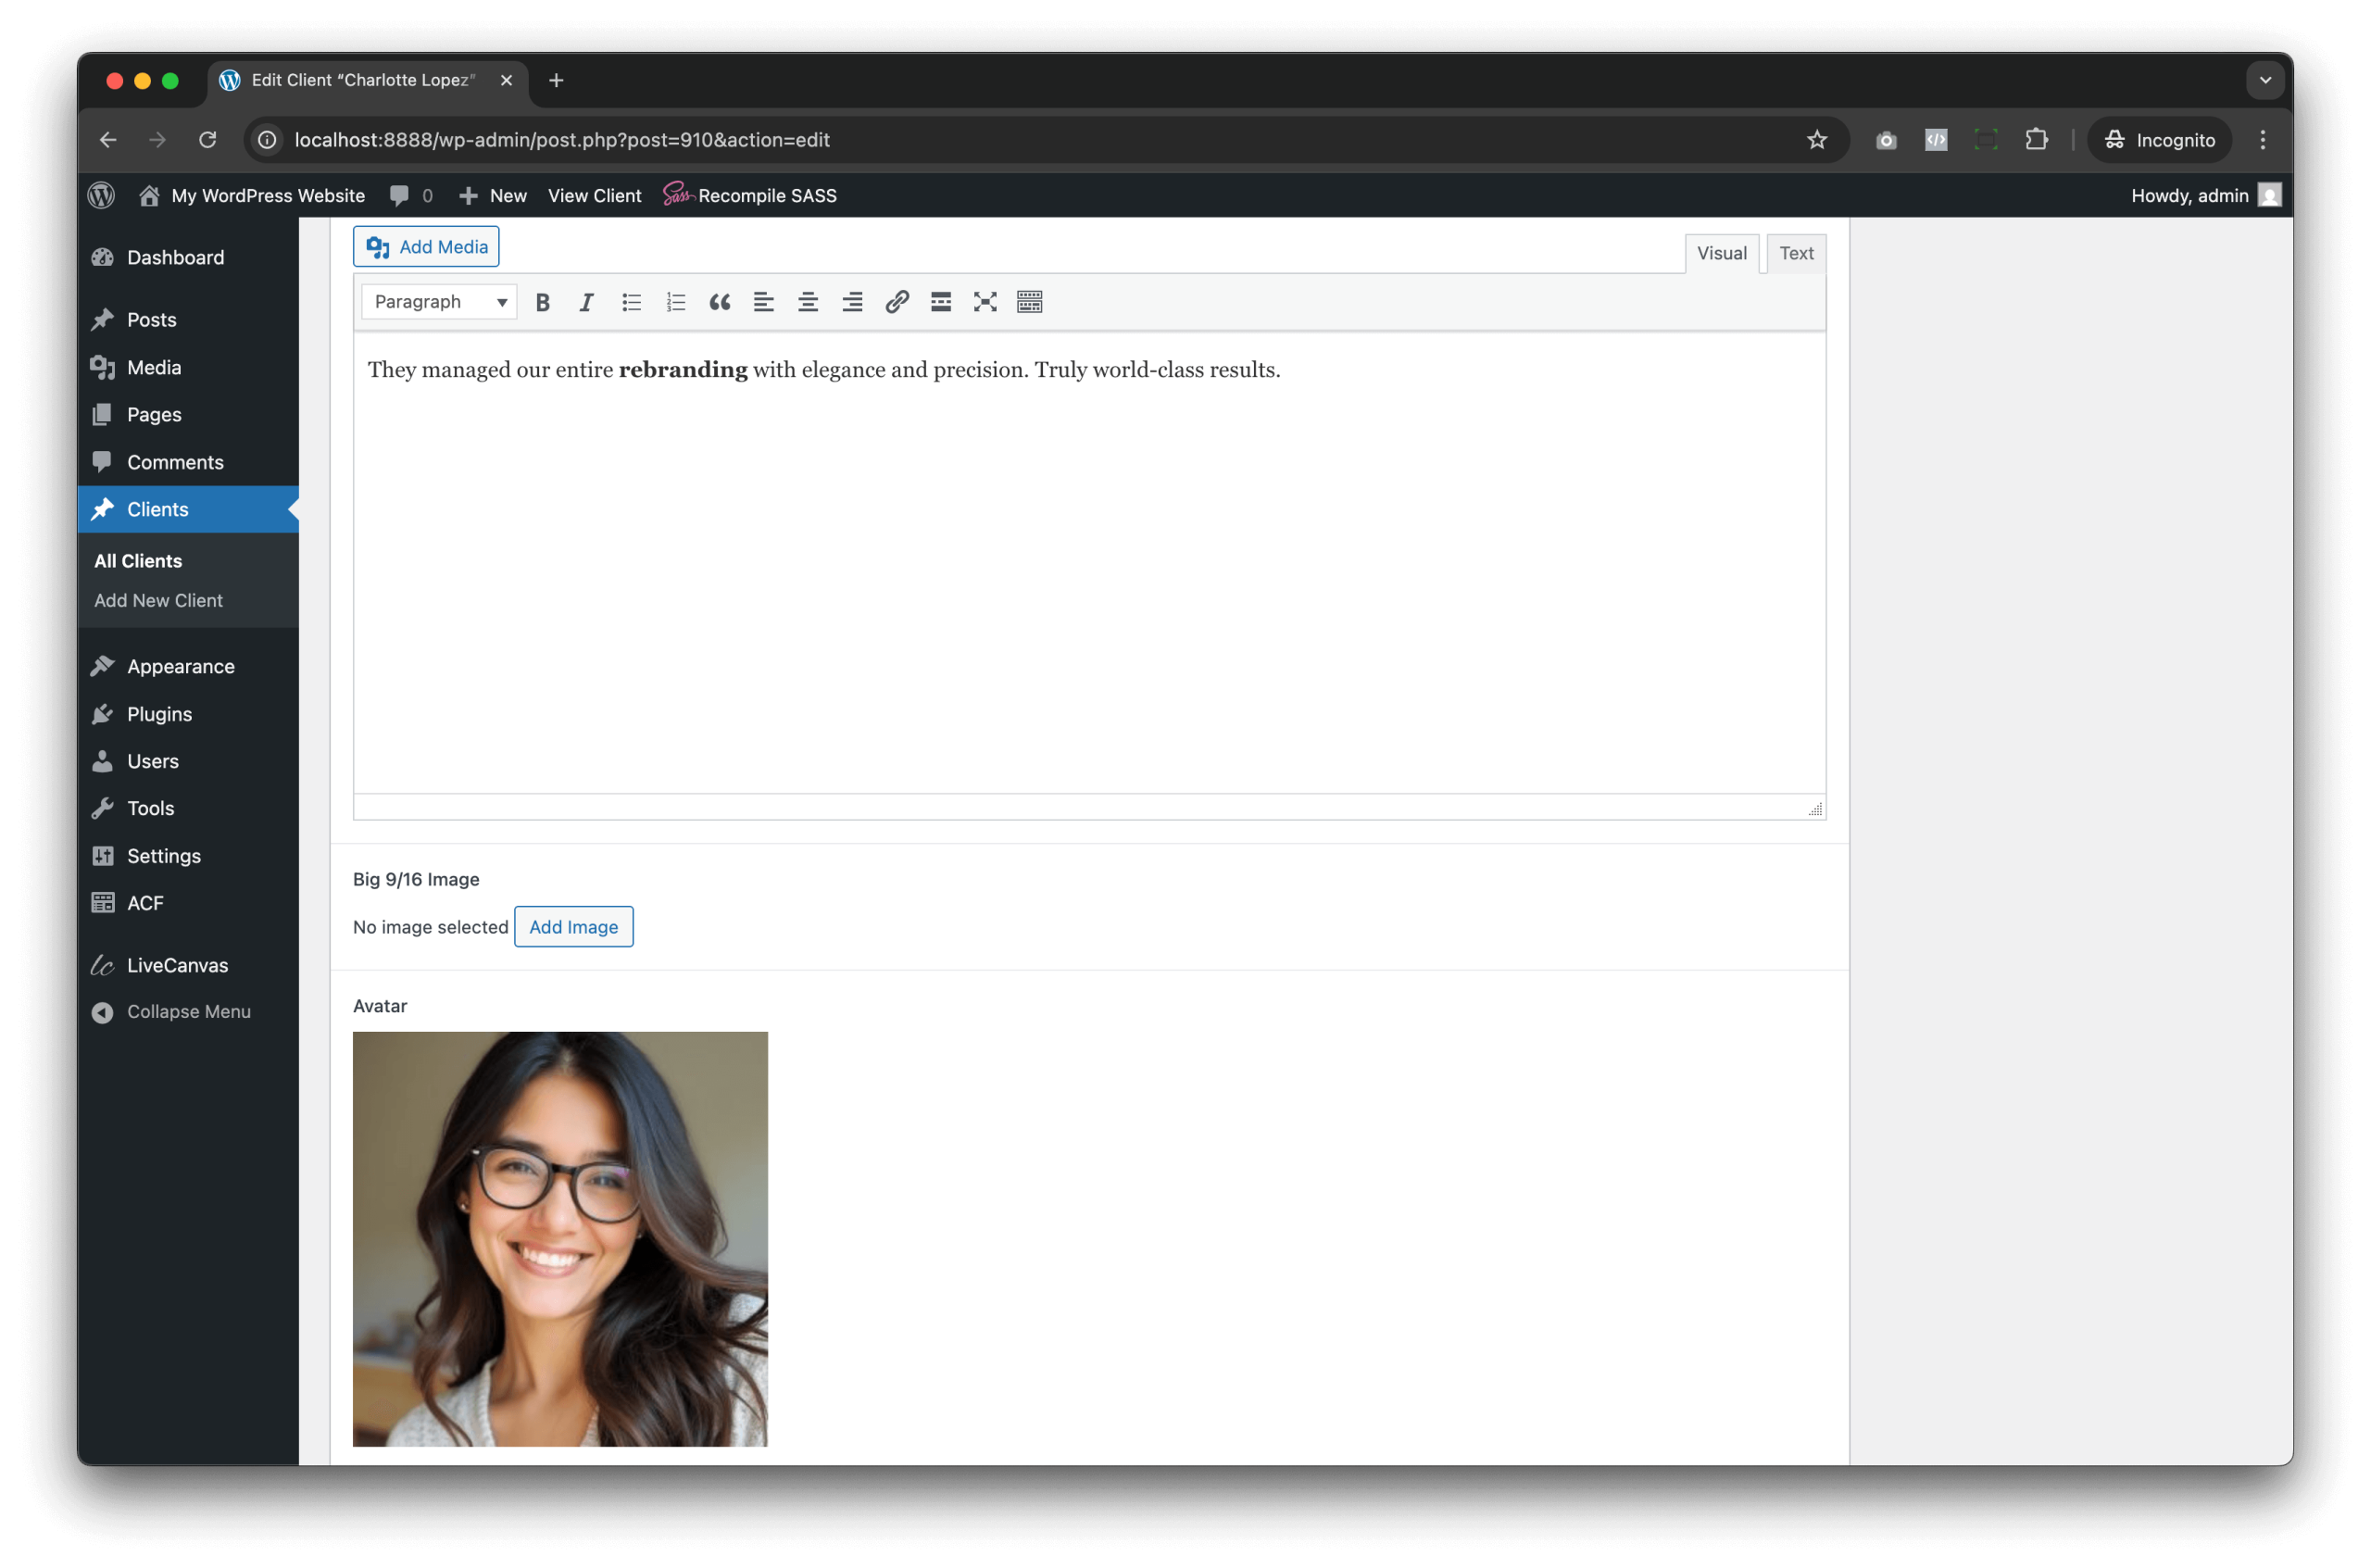
- Big 9/16 Image: optional vertical image
- Avatar: upload the client’s portrait image (square in my case)
- Name:
- (optional) Set a Featured Image if you want, though in this tutorial we’ll primarily use the Avatar field.
Click Publish.
Repeat the same process for each of your clients, until your Clients → All Clients list is full and all fields are filled.
At this point, all data are set – the content layer is complete.

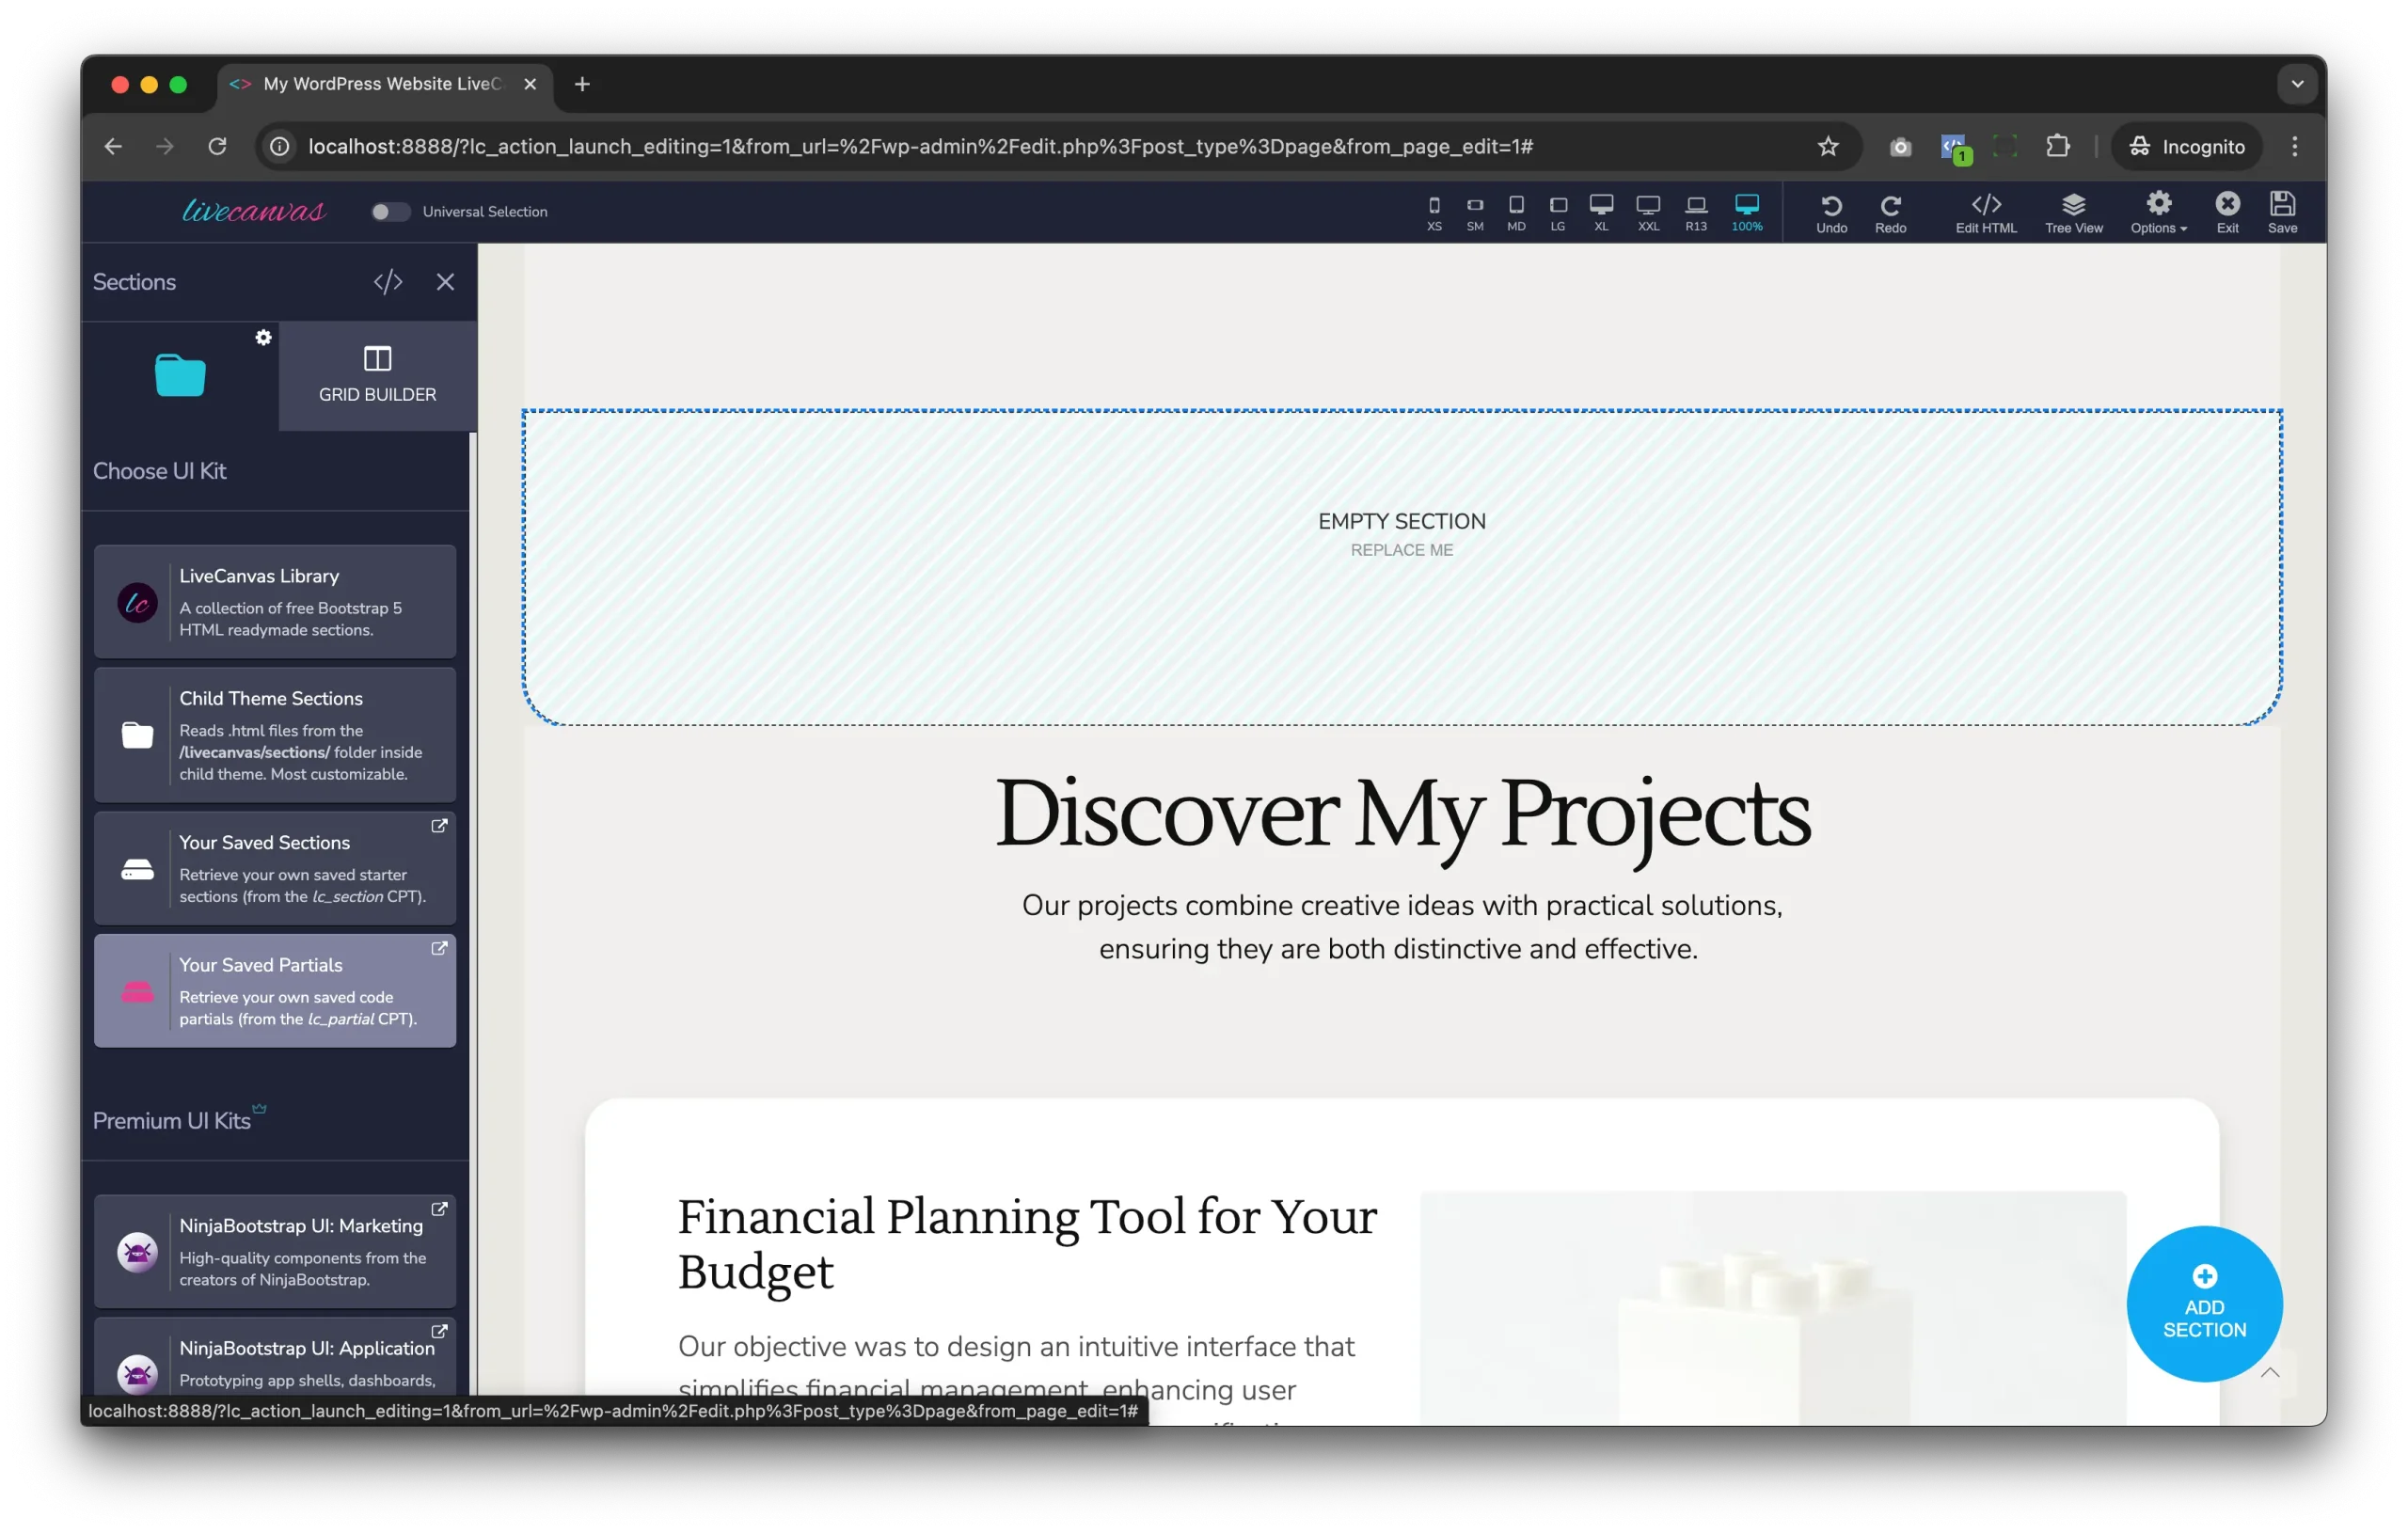
4. Create a LiveCanvas Partial for the Slider
At this point, since the testimonial component is something we might want to reuse across the entire site — for example inside a homepage, on a landing page built for Google Ads, or even in Facebook Ads funnels to boost social proof — the smartest approach is to centralize it.
And the best way to centralize it is by creating a LC partial.
A partial works exactly like an header or footer: you edit it once, and that change gets reflected everywhere the partial is embedded.
You can embed this content using the shortcode:
- [ lc_get_partial slug="testimonials"]
if you're working inside LiveCanvas or the visual builder - Alternatively, you can use this PHP code in your templates:
echo do_shortcode('[ lc_get_partial slug="testimonials"]');
if you're building templates the classic WordPress way
Quick note In the screenshot the partial hasn’t been published yet, so the slug hasn’t been generated. But once you publish it, the Use as Partial window will display the code showed above.

Let's create a New partial to render our testimonial section.
- In the WordPress dashboard, go to LiveCanvas → Partials.
- Click Add New Partial.
- Give it a title, for example:
Testimonials.- LiveCanvas will generate a slug based on this title, usually
testimonials.
- LiveCanvas will generate a slug based on this title, usually
- Leave the editor empty for a moment – we’ll add the code in the next step.
- Click Publish.
5. Add the Loops & Logic Code to the Partial
Once the partial is created, click “Edit with LiveCanvas.” where we can ready to paste the markup I’m about to show you.
Now we’ll drop in the full code snippet, which you can copy and paste directly into the area below.
Just open the HTML editor from the top-bar icon, then paste the code in.
You’ll instantly see a live preview of your custom post type entries populating the layout in real time, allowing you to inspect the dynamic loop and start shaping the final swipeable slider.
Now, we’ll walk through a quick breakdown of what the code actually does and how the logic works.
 <tangible class="live-refresh">
	<div class="lc-block d-flex gap-2 gap-lg-3 py-4 overflow-y-hidden mb-3" id="draggable-scroll" style="overflow-x: auto; scroll-snap-type: x proximity; scroll-behavior: smooth; cursor: grab;">
		<loop type="post" post_type="client" orderby="date" order="DESC">
			<div style="scroll-snap-align: start;" class="col-10 mw-lg-2 d-flex flex-column border rounded-4 p-4 shadow-sm bg-primary-25">
				<div class="lc-block d-flex align-items-center gap-4">
					<set img_field="">avatar</set>
					<if field="{Get img_field}">
						<loop acf_image="{Get img_field}">
							<img width="64px" height="64px" class="img-fluid rounded-circle" src="{Field url size=large}" srcset="{Field srcset}" sizes="{Field sizes}" alt="{Field alt}">
						</loop>
					</if>
					<div>
						<a href="{Field acf_url=website}" target="_blank" rel="noopener" class="text-decoration-none">
							<span class="text-capitalize fw-bold">
								<field acf_text="name"></field>
								<field acf_text="surname"></field>
							</span>
						</a>
						<p class="text-body text-opacity-50">
							<field acf_text="jobtitle"></field>
						</p>
					</div>
				</div>
				<div class="lc-block pt-2 fst-italic">
					<div editable="rich">
						<field acf_text="review"></field>
					</div>
				</div>
			</div>
		</loop>
	</div>
<style>
    #draggable-scroll { cursor: grab; -webkit-overflow-scrolling: touch; }
    #draggable-scroll.active { cursor: grabbing; }
</style>

<script>
//lc-needs-hard-refresh
document.addEventListener('DOMContentLoaded', () => {
  const draggableScroll = document.getElementById('draggable-scroll');
  if (!draggableScroll) return;

  let isDown = false, startX = 0, scrollLeft = 0;
  const disableTextSelection = () => {
    document.body.style.userSelect = 'none';
    document.body.style.webkitUserSelect = 'none';
    draggableScroll.classList.add('user-select-none');
  };
  const enableTextSelection = () => {
    document.body.style.userSelect = '';
    document.body.style.webkitUserSelect = '';
    draggableScroll.classList.remove('user-select-none');
  };

  draggableScroll.addEventListener('mousedown', (e) => {
    isDown = true;
    startX = e.pageX - draggableScroll.offsetLeft;
    scrollLeft = draggableScroll.scrollLeft;
    disableTextSelection();
    draggableScroll.classList.add('active');
    draggableScroll.style.cursor = 'grabbing';
  });

  ['mouseleave','mouseup'].forEach(evt=>{
    draggableScroll.addEventListener(evt, () => {
      isDown = false;
      enableTextSelection();
      draggableScroll.classList.remove('active');
      draggableScroll.style.cursor = 'grab';
    });
  });

  draggableScroll.addEventListener('mousemove', (e) => {
    if (!isDown) return;
    e.preventDefault();
    const x = e.pageX - draggableScroll.offsetLeft;
    const walk = (x - startX) * 3;
    draggableScroll.scrollLeft = scrollLeft - walk;
  });
});
</script>

</tangible>
Code Exaplanation:
This block of code displays a horizontally scrollable carousel of client reviews, each including the client’s image, name, job title, and testimonial.
It uses LiveCanvas Loops and Logic and ACF (Advanced Custom Fields) to pull dynamic content from custom post types.
Key Structural Elements:
-
<tangible class="live-refresh">
Enables LiveCanvas live preview refreshing when dynamic content changes.
-
<div class="lc-block d-flex gap-2 gap-lg-3 py-4 overflow-y-hidden mb-3" id="draggable-scroll" style="overflow-x: auto; scroll-snap-type: x proximity; scroll-behavior: smooth; cursor: grab;">
This is the Div Block for the horizontal scrollable area. Scroll behavior is smooth with snap alignment for clean transitions. Uses cursor: grab; to visually indicate drag functionality (check also the CSS code)
-
<loop type="post" post_type="client" orderby="date" order="DESC">
This is the Loops and Logic code and Iterates over WordPress Custom Post Type client. Orders posts by date, descending (most recent first).
Inside the Loop:
Now let’s focus on the inner portion of the post loop, where we’ll look at how the Custom Fields are being pulled in and how they’re referenced using the Loops & Logic syntax.
How to set a variable <set>
We’re using a tag called <set>, which lets us store a value in a variable and reuse it throughout the template.
In this case, we define a variable called img_field:
<set img_field="">avatar</set>
assign the image to it once, and then reference that variable wherever we need it inside the markup.
E.g. <if field="{Get img_field}">
Next, we have the option to link to the client’s website using the acf_url:
<a href="{Field acf_url=website}" target="_blank" rel="noopener" class="text-decoration-none">
First and last name are called by the most simple function in Loop and Logic and LiveCanvas:
<field acf_text="name"></field>
<field acf_text="surname"></field>
Then we have the job title, once again printed using the field function.
And finally, we display the review text, stored in the <field acf_text="review"></field> which contains the actual testimonial content.

6. Use the Partial Anywhere on Your Site
The magic of LiveCanvas Partials is that you can reuse them across your whole site with a single shortcode.
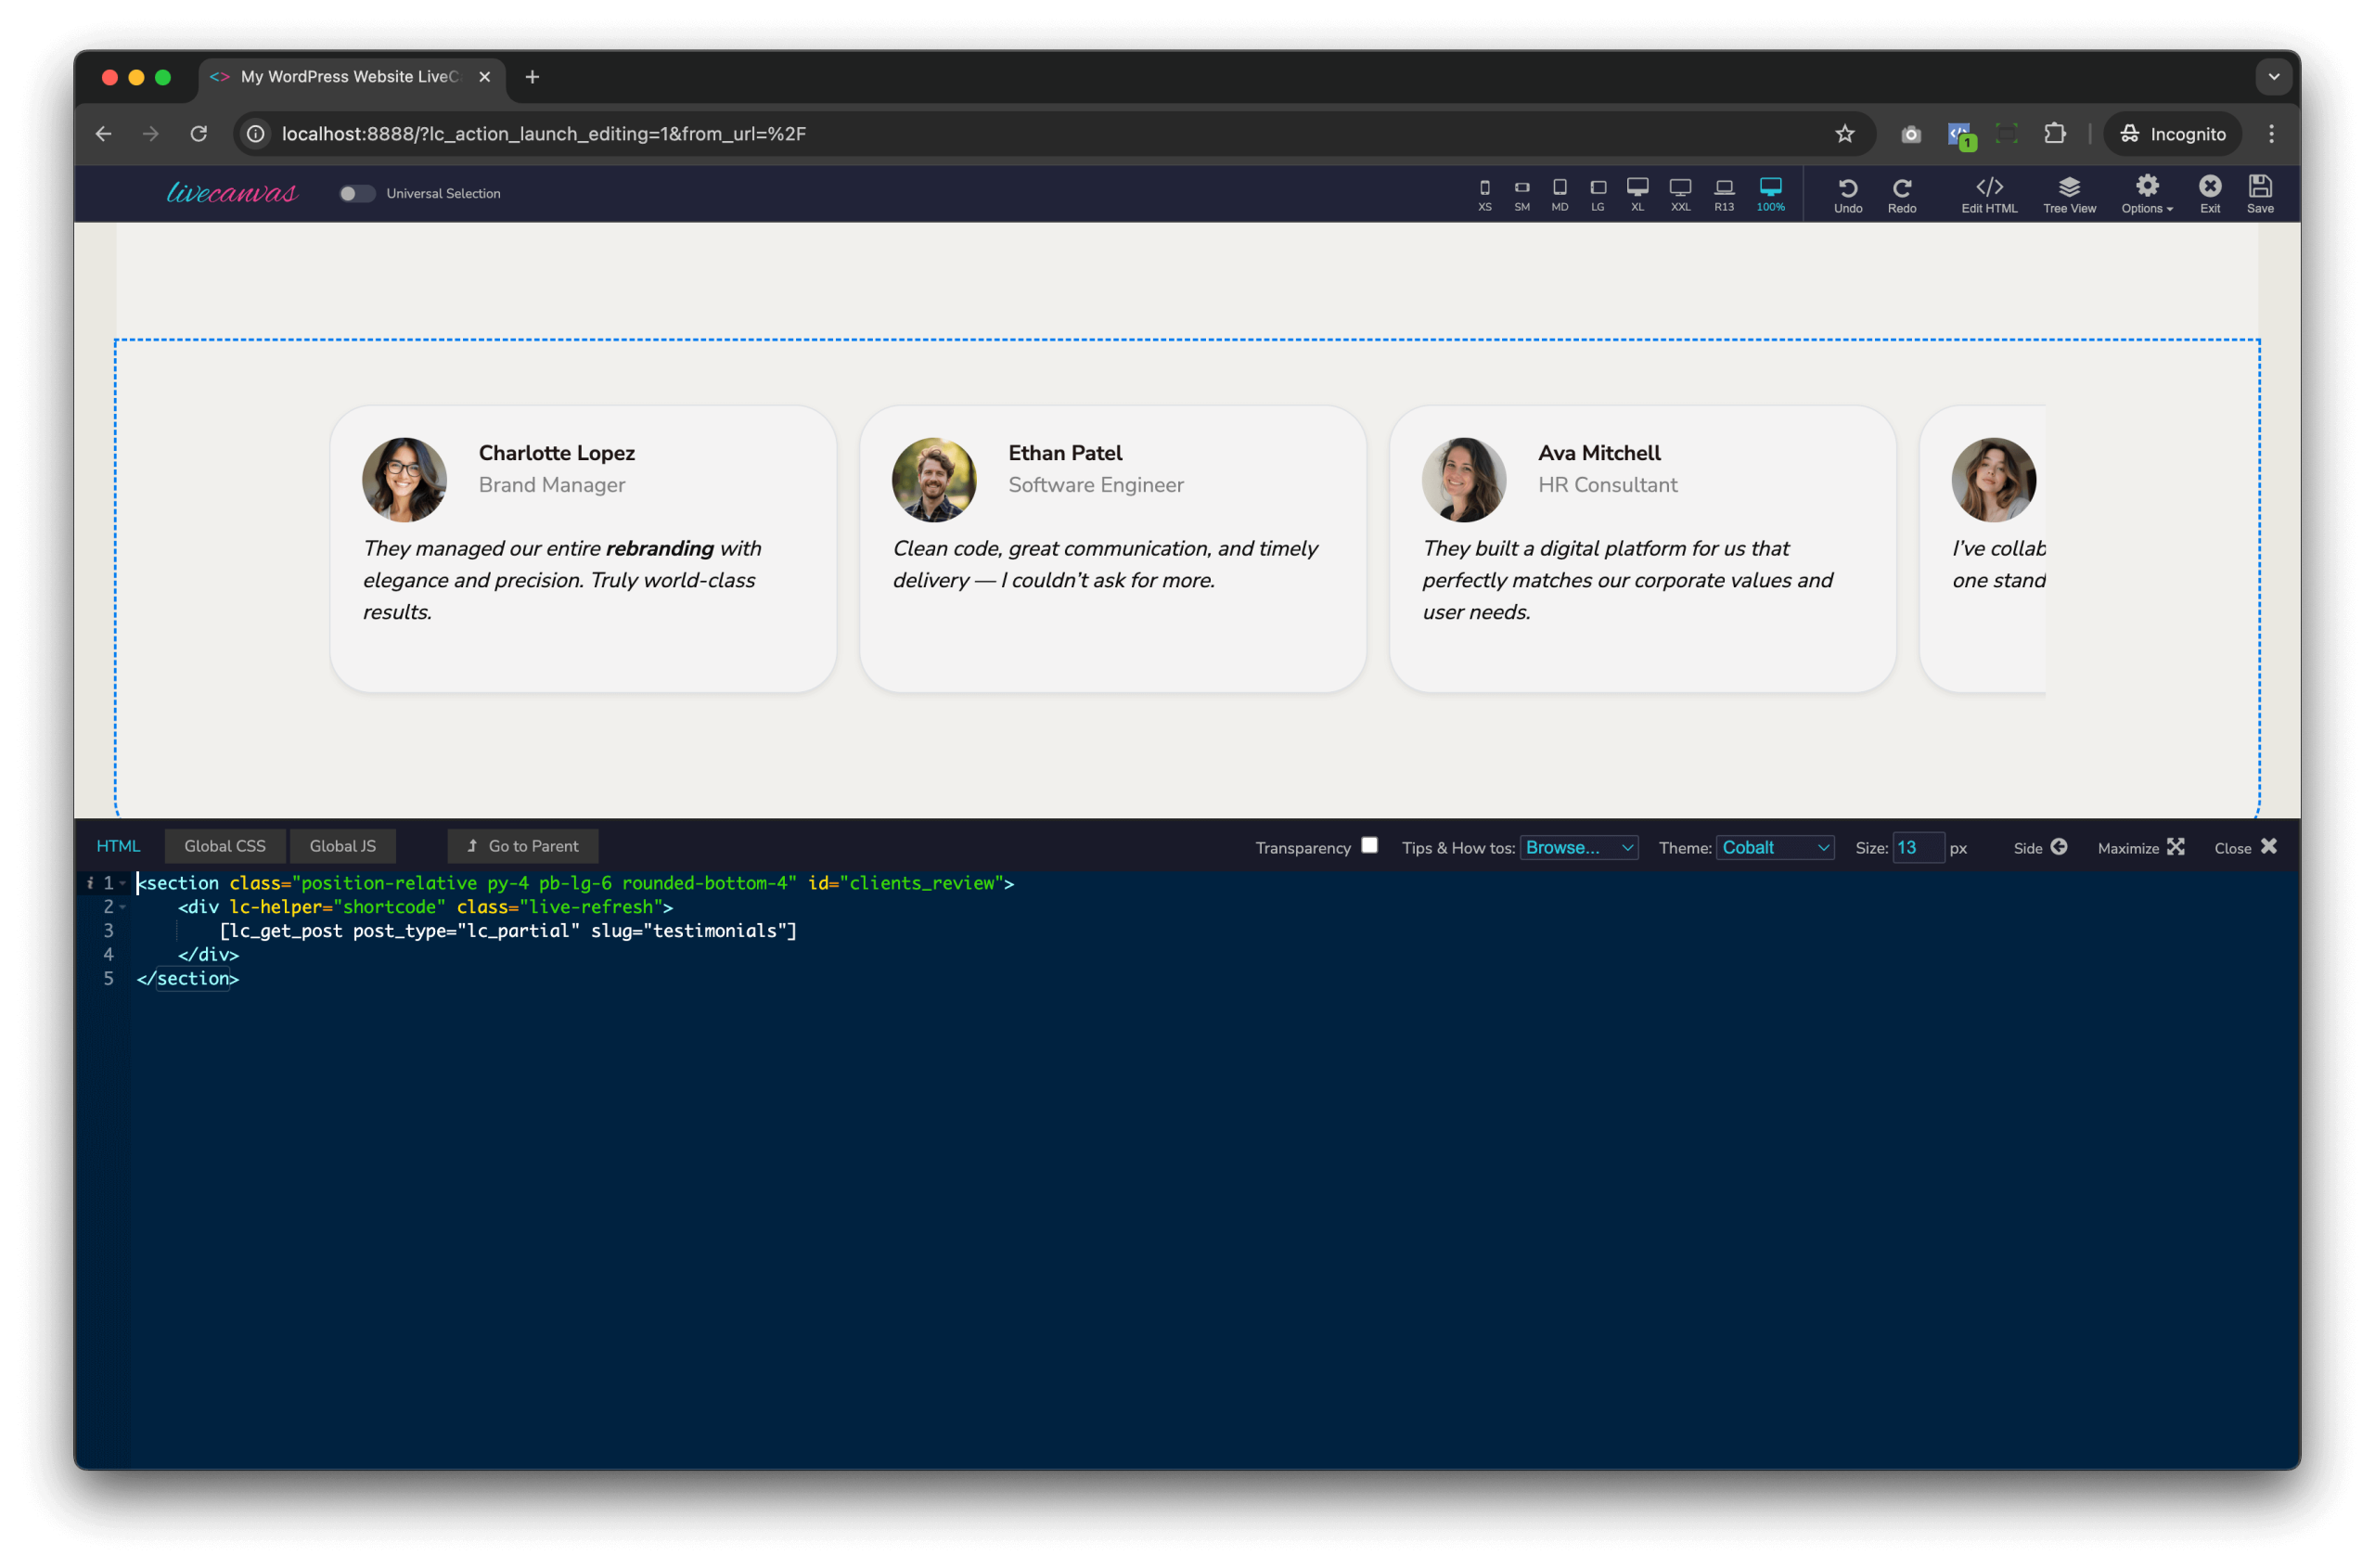
In your screenshot, we are inserting the partial into a section on the homepage. Here’s how to describe that in the tutorial.
- Open the page you want to edit with LiveCanvas (for example, the homepage).
- Add a new section or select an existing section where you want the testimonial slider to appear.

Key parts:
lc-helper="shortcode"andclass="live-refresh"
Tell LiveCanvas to render and auto-refresh the shortcode output directly in the editor.[ lc_get_post post_type="lc_partial" slug="testimonials"]
This shortcode fetches the testimonials partial by its slug and prints its content right here.
Now, anywhere you want the same slider (another page, a landing page, etc.), you can drop the same snippet into a section and you will always get the up-to-date testimonials rendered from your Custom Post Type.
Useful links:
- ACF Block Documentation https://docs.livecanvas.com/acf-blocks
- Loops and Logic Documentation https://docs.loopsandlogic.com/